.svg&w=384&q=75 "Naijagoal logo")

PAOK vs Anderlecht Tactical Analysis: A 0-1 Defeat at Toumba Stadium
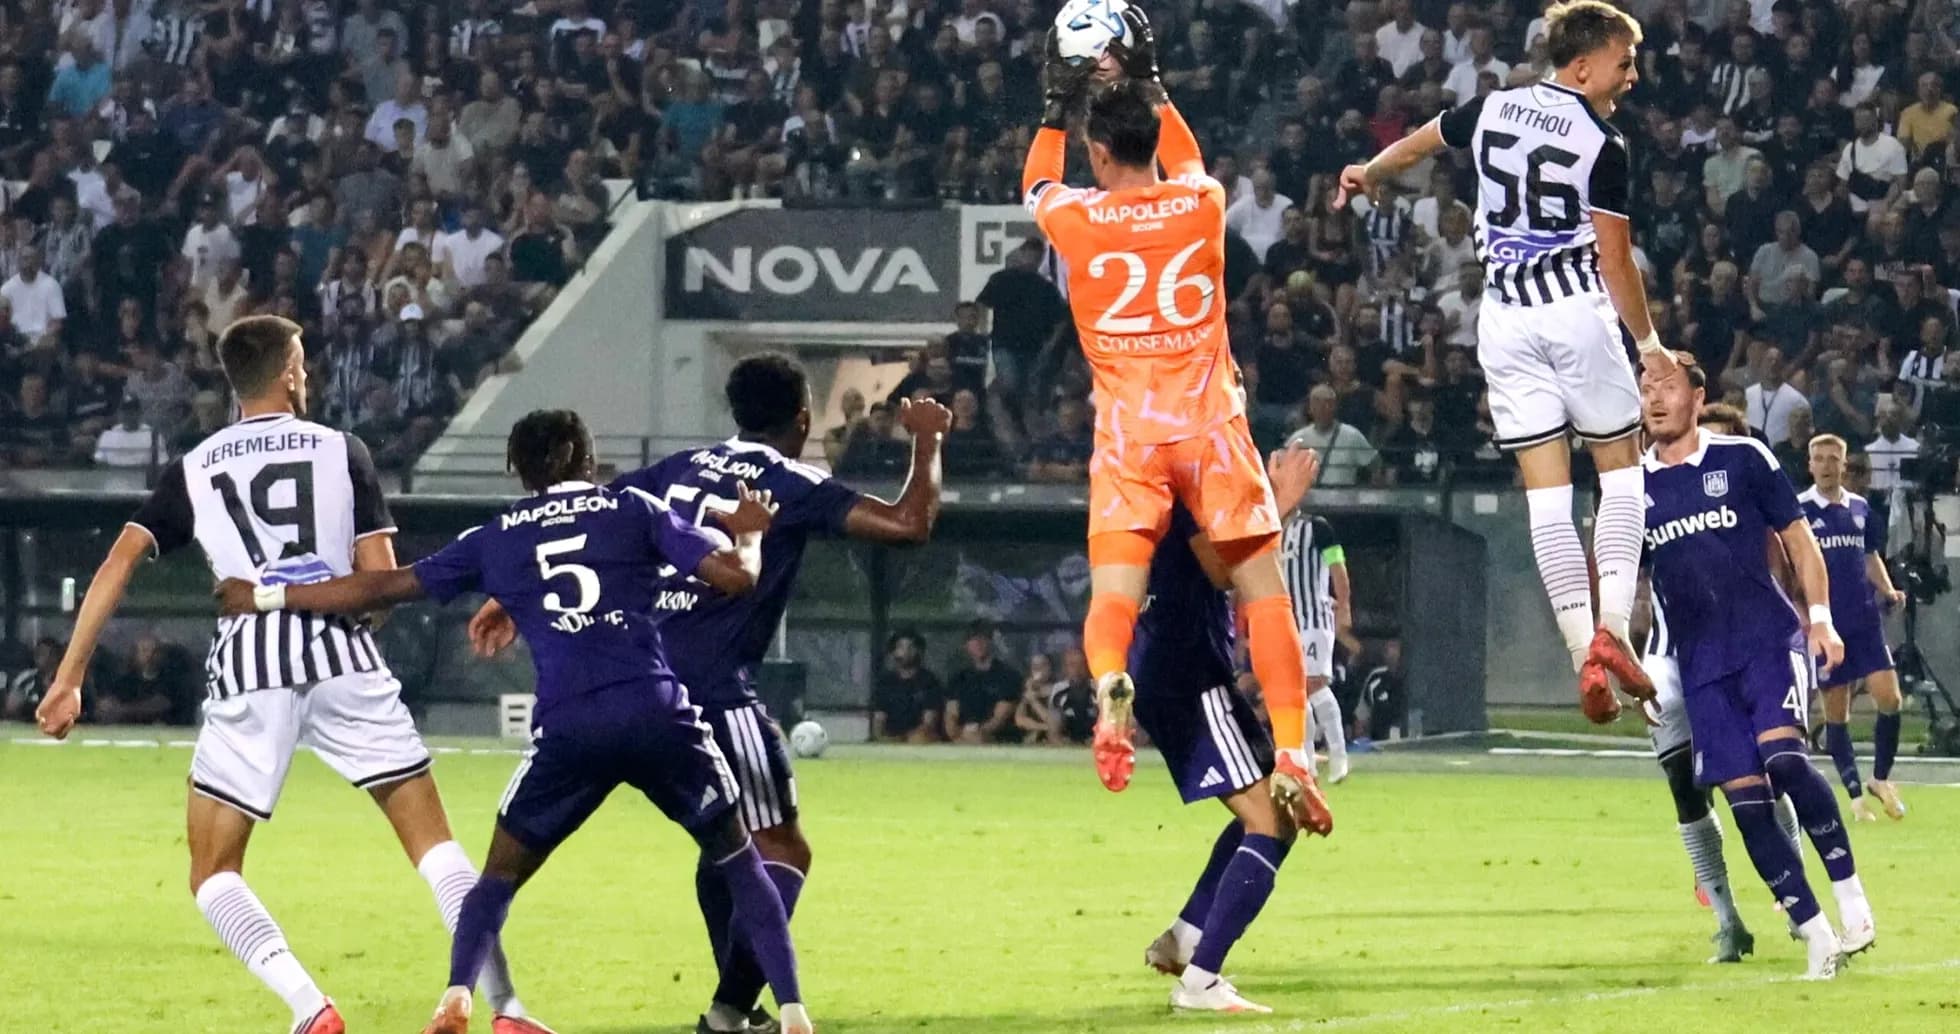
PAOK’s 4-2-3-1 at Toumba Stadium was built to dominate territory and possession, and the numbers confirm it: 65% of the ball, 3 shots on goal and 11 off target, plus 5 corners to Anderlecht’s single flag kick. Yet the match finished 0-1, decided by Anderlecht’s explosive start and then their capacity to compress space and foul intelligently to protect the lead.
Final Score: PAOK 0 - 1 Anderlecht
The early goal at 1' from M. Cvetkovic, assisted by E. Llansana, immediately flipped the tactical script. PAOK’s double pivot of C. Zafeiris and B. Santamaria was designed to control build-up and feed a fluid three of A. Zivkovic, G. Konstantelias and Taison behind A. Mythou. Instead, they were forced into constant chasing of a low block. Anderlecht’s 4-3-3 morphed quickly into a 4-5-1 without the ball, with wide players J. Onia Seke and M. Cvetkovic dropping alongside L. Ambros and E. Llansana to form a compact five-man midfield screen.
PAOK’s structure in possession was clear: full-backs Jogo and G. Michailidis pushed high to provide width, allowing Zivkovic and Taison to drift inside and create overloads between the lines. Konstantelias tried to operate in the right half-space, receiving on the half-turn and looking to combine with Mythou. The 11 shots off goal and 3 blocked efforts show that PAOK were able to reach shooting zones but struggled to create clear angles or unsettle the Anderlecht back four. Many attempts came from suboptimal distances or rushed situations as the Belgian side’s first line of pressure delayed and their midfield recovered behind the ball.
Defensive Stability
The key hinge point for PAOK’s defensive stability came with Pantelis Hatzidiakos’ yellow card on 38' and his substitution at 46', when A. Elustondo (IN) came on. Until then, the centre-back partnership of Hatzidiakos and G. Michailidis had to hold a high line to compress play and keep Anderlecht pinned. The caution likely influenced his aggression in duels, and the half-time change suggests Alessio Lisci wanted fresh legs and more front-foot defending to sustain the high press in the second half. Elustondo’s introduction coincided with a more assertive PAOK rest defence, with the hosts largely preventing Anderlecht from countering in numbers after the break.
Offensive Changes
Offensively, Lisci’s substitutions were all about heightening attacking presence and crossing threat. At 63', Jogo (OUT) made way for A. Baba (IN), adding a more direct, overlapping profile on the left. Simultaneously, B. Santamaria (OUT) was replaced by G. Taylor (IN), a move that tilted the structure: Taylor’s presence allowed PAOK to commit even more numbers forward without completely abandoning the midfield screen. At 71', Taison (OUT) was replaced by A. Jeremejeff (IN), giving PAOK a more orthodox penalty-box reference and improving their ability to attack second balls and crosses. The final attacking push came at 83', when A. Mythou (OUT) left for D. Pelkas (IN), effectively turning the shape into a more fluid, creator-heavy front line with Pelkas and Konstantelias trying to combine centrally and Jeremejeff leading the line.
Despite this layering of attacking profiles, Anderlecht’s defensive organisation held. Their 23 fouls, compared to PAOK’s 15, underline a deliberate tactical choice: break rhythm, accept cards, and refuse to let PAOK establish continuous pressure. Yellow cards for Moussa Ndiaye (56'), Enric Llansana (58') and Danylo Sikan (90+1') mark key phases where Anderlecht used tactical fouling to stop transitions or disrupt promising attacks. The back four of M. N’Diaye, G. Biancone, L. Petrot and A. Maamar stayed narrow, inviting crosses but trusting their aerial ability and compactness. With 0 blocked shots recorded for Anderlecht, most of PAOK’s wayward efforts came from being forced to shoot under pressure rather than having strikes physically charged down in the box.
Anderlecht's Pragmatism
In possession, Anderlecht were pragmatic. With only 35% of the ball, their 4-3-3 rarely committed both full-backs forward simultaneously. E. Llansana anchored midfield, allowing L. Ambros and M. Kana to shuttle and support transitions. The early combination for the goal—Cvetkovic finishing from a Llansana assist—was emblematic: quick verticality before PAOK’s defensive block was fully set. After that, Anderlecht’s attacks became more selective. Substitutions reflected game-state management: J. Onia Seke (OUT) for O. Antman (IN) on 57' added fresh running to chase PAOK’s build-up; at 71', L. Ambros (OUT) for N. Saliba (IN) and M. Cvetkovic (OUT) for T. Degreef (IN) further solidified the midfield and wide defensive coverage, sacrificing some attacking punch to close the game out.
Disciplinary Patterns
The disciplinary pattern also shaped the tactical tone. PAOK’s second yellow came late, to Aritz Elustondo on 86', which did not drastically alter their approach but did limit the defender’s ability to engage in high-risk challenges as they chased an equaliser. Anderlecht’s three cautions, clustered from 56' onwards, coincided with PAOK’s most aggressive attacking phases, underlining how the visitors leaned into controlled cynicism to preserve their advantage.
Without explicit data on goalkeeper saves, the broader defensive picture still emerges clearly from the shot profile: PAOK generated more volume but lacked efficiency and incision, while Anderlecht maximised an early chance and then retreated into a disciplined, foul-heavy rearguard. In a 3rd Qualifying Round tie where margins are thin, Anderlecht’s early punch and subsequent tactical austerity turned Toumba Stadium’s territorial siege into a controlled 0-1 away win, leaving PAOK with structural dominance on the stats sheet but no goals to show for it.